
Easy Mozzarella Stick Onion Rings Recipe
What happens when you combine two of the most beloved snacks crispy onion rings and gooey mozzarella sticks? Pure magic! These Easy Mozzarella Stick Onion Rings are the ultimate crunchy, cheesy appetizer that’ll have everyone reaching for more. Perfect for game nights, parties, or when you just need a snack that screams irresistible.
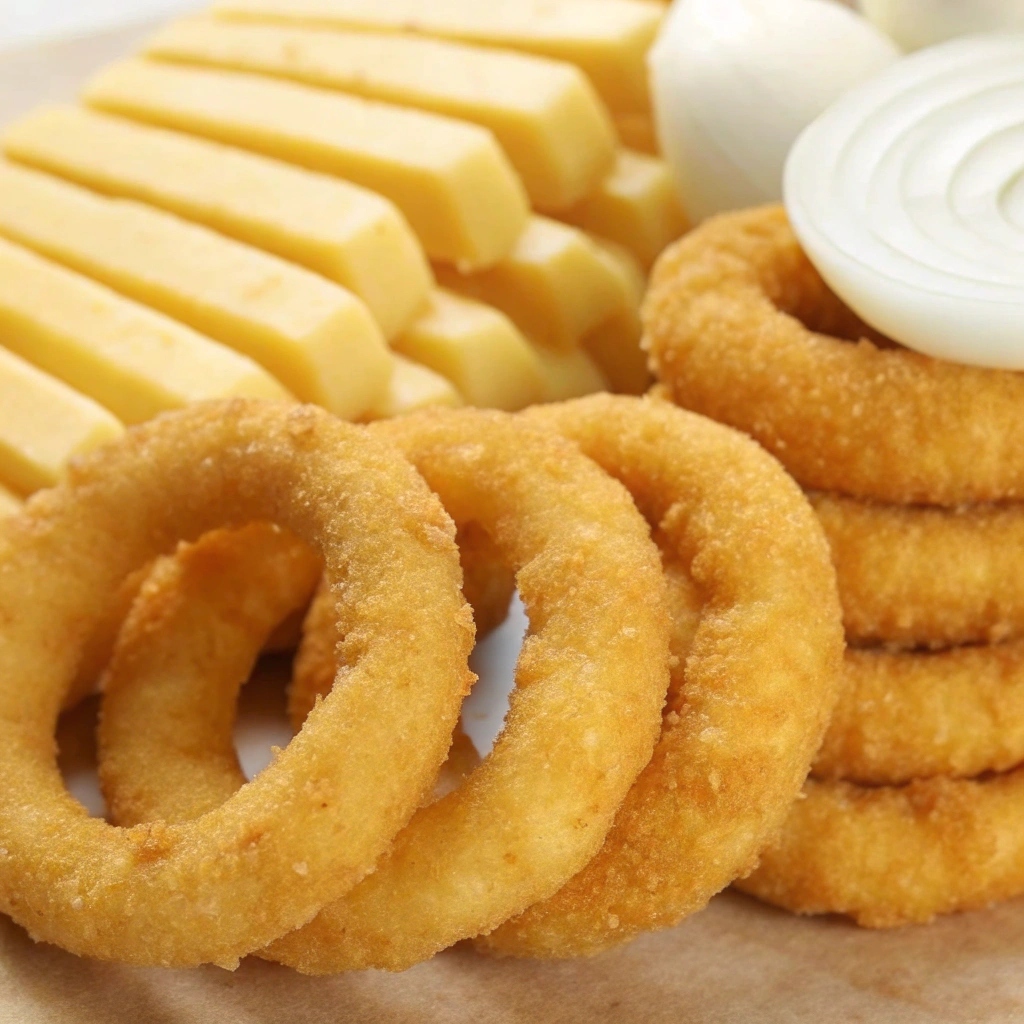
Imagine biting into a golden, crispy ring that crackles with every chew, only to reveal a warm, gooey center of melted mozzarella. Sounds heavenly, right? This recipe takes your average onion rings to a whole new level by stuffing them with stretchy cheese. It’s a fun, delicious twist that’s easier to make than you’d think. Plus, these are a guaranteed hit with both kids and adults alike.
Whether you’re hosting a gathering, craving a savory snack, or just want to try something new, these onion rings are a must-try. They’re crispy, cheesy, and totally irresistible what’s not to love?
Why You’ll Love This Recipe
- Double the Fun: A crispy onion ring stuffed with melty mozzarella? Yes, please!
- Crunchy and Gooey: The perfect contrast of textures in every bite.
- Crowd-Pleaser: Whether for parties or a cozy night in, these disappear fast!
- Customizable: Experiment with different cheeses, spices, or even dipping sauces to make them your own.
- Easy to Make: With simple ingredients and straightforward steps, you can whip these up in no time.

Ingredients
Round up these simple ingredients to create a snack that’ll wow everyone:
- Large Onions: The base for the rings—choose ones with thick layers for easy stuffing.
- Mozzarella Cheese: The ultimate melty, cheesy goodness tucked inside each ring.
- Flour: Helps the batter stick and gives a nice crispy coating.
- Eggs: Acts as the binder to hold the breadcrumbs in place.
- Breadcrumbs: Creates that golden, crispy crust.
- Seasoning: Garlic powder, paprika, salt, and pepper to enhance the flavor.
- Oil for Frying: A neutral oil like vegetable or canola for deep-frying perfection.
- Optional Add-Ins: Spice it up with cayenne pepper or add parmesan cheese to the breadcrumb mixture for extra flavor.
Note: Exact measurements are in the recipe card below.
How to Make Easy Mozzarella Stick Onion Rings
Step 1: Prep the Onion Rings and Cheese
Peel and slice the onion into thick rings. Separate the layers and match them in pairs, one slightly smaller than the other. Cut mozzarella sticks into pieces that fit snugly between two onion layers.
Pro tip: Aim for onion rings that are at least 1/2 inch thick—thinner rings won’t hold the cheese as well.
Step 2: Assemble the Onion Rings
Place a piece of mozzarella inside each pair of onion rings, creating a stuffed ring. Press gently to secure. If needed, trim the cheese to fit perfectly within the onion layers.
Step 3: Coat the Rings
Set up a dredging station with three bowls:
- Flour
- Beaten eggs
- Breadcrumbs mixed with seasoning
Dip each stuffed ring into the flour, then the egg, and finally the breadcrumbs. For an extra crispy texture, repeat the egg and breadcrumb coating.
Double-coating ensures a crispy, golden crust while keeping the cheese sealed inside.
Step 4: Freeze Before Frying
Arrange the coated rings on a baking sheet and freeze for 30 minutes. This step prevents the cheese from oozing out while frying and helps the coating stick better.
Step 5: Fry Until Golden
Heat oil in a deep pan to 350°F (175°C). Fry the rings in batches until golden brown and crispy, about 2-3 minutes per side. Avoid overcrowding the pan to maintain the oil temperature.
Drain on paper towels to remove excess oil and keep the rings crunchy.
Step 6: Serve Hot
Enjoy immediately with your favorite dipping sauces like marinara, ranch, or garlic aioli!
Pro Tips for Making the Recipe
- Freeze Before Frying: Chilling the coated rings for 30 minutes helps the cheese stay inside while frying.
- Double Coating: For extra crunch, dip in egg and breadcrumbs twice.
- Don’t Overcrowd the Pan: Fry in batches for even cooking and crispiness.
- Test Oil Temperature: Use a thermometer to ensure the oil stays around 350°F for the crispiest results.
- Customize the Coating: Add parmesan, chili flakes, or herbs to the breadcrumb mixture for extra flavor.
How to Serve
- Dipping Sauces: Marinara, garlic aioli, or spicy sriracha mayo are all perfect pairings.
- Party Platter: Serve alongside wings, fries, and nachos for the ultimate snack board.
- Burger Upgrade: Use these as a fun, cheesy topping for burgers!
- Movie Night Snack: Pair with popcorn and your favorite movie for an indulgent treat.
Make Ahead and Storage
Storing Leftovers
Store in an airtight container in the fridge for up to 2 days. Reheat before serving to restore the crispy texture.
Freezing
Freeze uncooked, coated rings for up to a month. Fry directly from frozen, adding a few extra minutes.
Reheating
Reheat in an oven at 375°F (190°C) or an air fryer for 5-7 minutes until crispy again. Avoid microwaving as it can make the coating soggy.

FAQs
Can I bake these instead of frying?
Yes! Bake at 400°F (200°C) for 15-18 minutes, flipping halfway through. They won’t be as crispy but still delicious.
What’s the best cheese to use?
Mozzarella sticks work best, but you can try cheddar or pepper jack for a twist. Choose a cheese that melts well without being too runny.
Can I make these gluten-free?
Absolutely! Use gluten-free breadcrumbs and flour for a gluten free version. Make sure your frying oil is also gluten-free.
How do I keep the cheese from oozing out?
Freezing before frying helps, and making sure the onion rings are fully sealed with coating prevents leaks. Double-coating also adds an extra layer of protection.
Crispy, cheesy, and totally addictive, these Easy Mozzarella Stick Onion Rings will become your new favorite snack. Try them out and watch them disappear in minutes. Trust me once you make these, you’ll be craving them on repeat!