Introduction
Duck is a rich and flavorful meat that has been a culinary delicacy across cultures for centuries. Its unique taste, succulent texture, and versatility make it a favorite for home cooks and professional chefs alike. Compared to other poultry like chicken or turkey, duck has a deeper, more intense flavor due to its higher fat content and denser muscle structure. This quality allows for a range of cooking methods that enhance its natural richness and create a mouth-watering experience.
Table of Contents
ToggleUnderstanding Duck Meat
Before diving into the preferred cooking methods, it’s essential to understand what makes duck meat unique. This knowledge will help you choose the best preparation techniques and avoid common mistakes.
Differences Between Duck and Other Poultry
Unlike chicken or turkey, duck has a higher fat content, particularly beneath the skin. This fat renders down during cooking, adding moisture and enhancing the meat’s natural flavors. Duck also has darker, more muscular meat, which gives it a richer taste but requires careful temperature control to prevent overcooking.
Fat Content and Flavor Profile
Duck’s rich fat content is one of its most desirable qualities. This fat adds a depth of flavor and keeps the meat moist during cooking. Additionally, rendered duck fat is a prized ingredient in its own right—it can be used to cook vegetables, fry potatoes, or add a gourmet touch to various dishes.
Preferred Cooking Methods for Duck
Cooking duck requires special attention to technique and temperature due to its rich fat content and unique texture. Several methods are widely regarded as the best ways to prepare duck, each offering distinct flavors and textures. Whether you want crispy skin, tender meat, or a smoky aroma, there is a cooking technique to suit your culinary goals.
Roasting Duck for a Crispy Skin
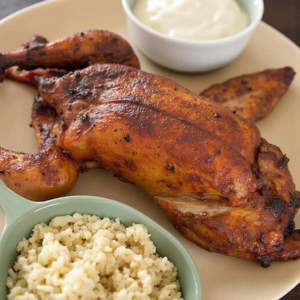
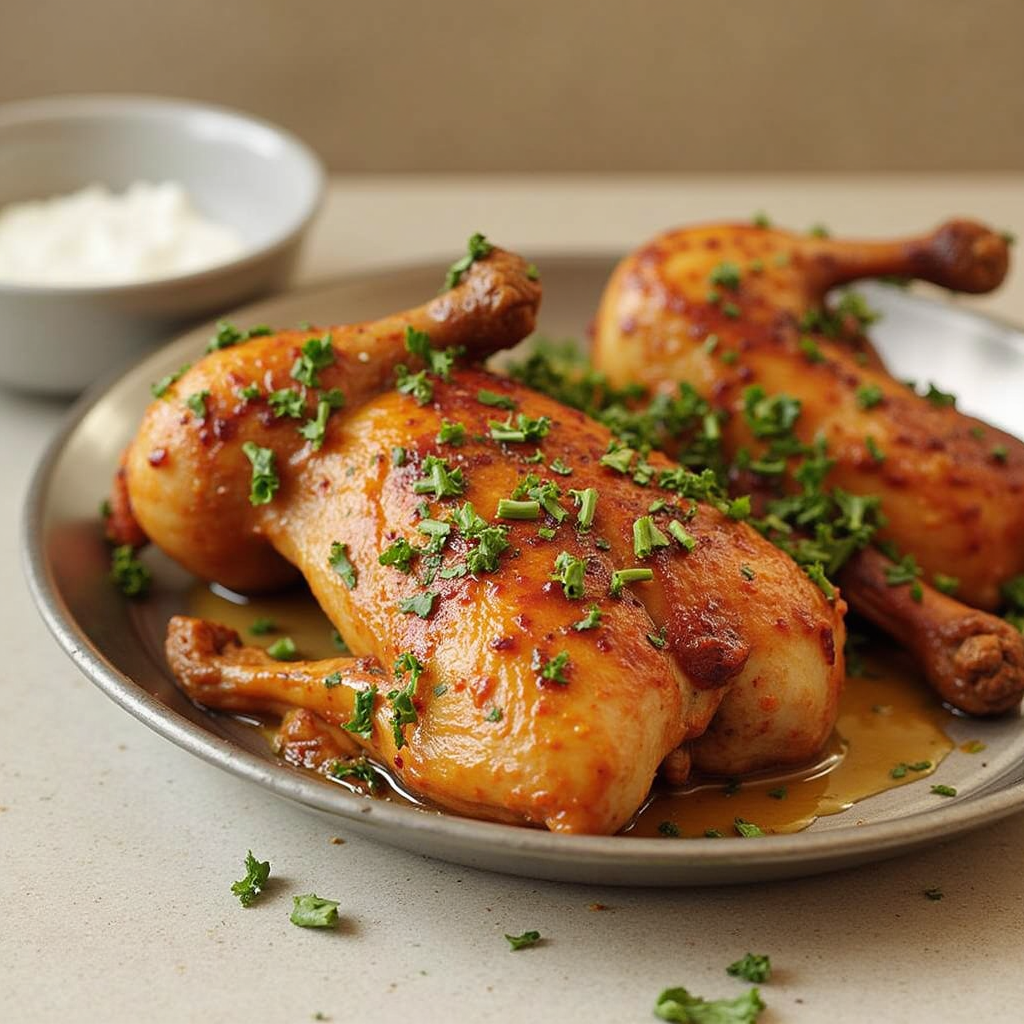
Roasting is perhaps the most popular and classic method for cooking a whole duck. This technique allows the skin to become beautifully crisp while the interior remains moist and flavorful. Proper preparation and temperature control are crucial to achieving the perfect roast duck.
Why Roasting Works Best for Whole Duck:
- Allows the fat to render slowly, ensuring a juicy interior.
- Creates a golden, crispy skin that is highly desirable.
- Perfect for special occasions and large servings.
Tips for a Perfect Roast Duck:
- Score the Skin: Lightly score the duck’s skin in a crisscross pattern. This helps the fat to render during cooking without piercing the meat.
- Season Generously: Use a mix of salt, pepper, and aromatic spices like star anise, cinnamon, or citrus zest to enhance the duck’s natural flavors.
- Cook Low and Slow: Begin roasting at a lower temperature (about 300°F or 150°C) to slowly render the fat, then increase the heat (to 425°F or 220°C) toward the end for a crispy finish.
- Rest Before Serving: Allow the roasted duck to rest for 15-20 minutes before carving to retain moisture and allow the juices to redistribute

Heading 3: Pan-Searing Duck Breast for Tenderness
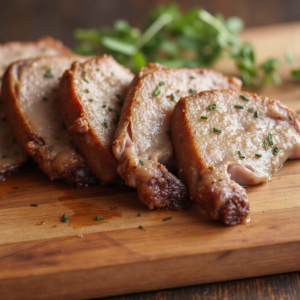
Pan-searing is the preferred method for cooking duck breast because it allows for precise temperature control while achieving a crispy skin and a tender, medium-rare interior. This method works best with skin-on duck breasts, which render out excess fat as they cook.
Why Pan-Searing Works Best for Duck Breast:
- Delivers a crispy, golden-brown skin.
- Allows for even cooking and a juicy interior.
- Quick and ideal for weeknight dinners or gourmet meals.
Steps for Perfect Pan-Seared Duck Breast:
- Prepare the Duck Breast: Score the skin without cutting into the meat and pat the breast dry with paper towels. This helps achieve an even sear.
- Render the Fat: Start cooking skin-side down in a cold, dry pan over medium heat. Allow the fat to render slowly for 8-12 minutes until the skin is crisp and golden.
- Flip and Finish: Once the skin is crisp, flip the breast and cook for an additional 3-5 minutes, depending on the desired doneness. Aim for an internal temperature of 130°F (54°C) for medium-rare.
- Rest Before Slicing: Let the breast rest for 5-10 minutes before slicing to preserve its juices.
Heading 3: Slow-Cooking Duck for Rich Flavors
Slow-cooking is a fantastic method for tougher duck cuts like the legs and thighs. This technique involves cooking the duck at a low temperature for an extended time, allowing the connective tissues to break down and the meat to become meltingly tender.
Why Slow-Cooking Works Well for Duck Legs and Thighs:
- Produces fall-off-the-bone tenderness.
- Ideal for braised or confit-style dishes.
- Intensifies the duck’s natural flavors through prolonged cooking.
How to Slow-Cook Duck:
- Select the Right Cuts: Duck legs and thighs are ideal for slow-cooking due to their rich connective tissue.
- Season and Brown: Season the duck generously and sear it on all sides before transferring it to a slow cooker or a Dutch oven.
- Add Aromatics and Liquid: Include herbs (like thyme and rosemary), garlic, and a liquid base such as broth, wine, or duck fat.
- Cook Low and Slow: Simmer at 275°F (135°C) for 2-3 hours until the meat is tender and easily pulls away from the bone.
Heading 3: Smoking Duck for an Intense Flavor
Smoking imparts a deep, smoky aroma to duck, enhancing its natural richness. This method is particularly effective for whole ducks or large pieces.
Why Smoking is a Great Choice for Duck:
- Adds complex, smoky flavors.
- Perfect for outdoor cooking and special events.
- Works well with various wood chips (e.g., cherry, apple, hickory).
Tips for Smoking Duck:
- Brine the Duck First: Soak the duck in a salt-water brine for several hours to lock in moisture.
- Use the Right Wood Chips: Fruitwoods like apple or cherry complement the duck’s natural richness.
- Maintain Consistent Heat: Keep the smoker at a steady temperature (225°F or 107°C) for even cooking.
- Monitor Internal Temperature: Aim for an internal temperature of 165°F (74°C) for safety while maintaining juiciness.
Step-by-Step Guide to Roasting Duck
Roasting is considered the preferred cooking method for a whole duck, as it brings out the rich flavors while rendering the fat and creating a crispy, golden skin. This section provides a detailed, step-by-step guide to help you achieve a perfectly roasted duck every time.
Preparing the Duck (Cleaning, Scoring, and Seasoning)
1. Clean the Duck:
Start by rinsing the duck thoroughly under cold running water to remove any impurities. Pat the bird dry with paper towels—excess moisture prevents the skin from crisping properly. Ensure you remove any giblets from the cavity and save them for gravy or stock if desired.
2. Score the Skin:
Scoring the duck’s skin is essential to help the fat render during cooking. Using a sharp knife, make shallow crisscross cuts across the breast and legs. Be careful not to cut into the meat—this can cause juices to escape during roasting.
3. Season Generously:
Season the duck inside and out with kosher salt and freshly ground black pepper. For added complexity, rub the skin with a blend of spices such as:
- Crushed garlic
- Thyme or rosemary
- Star anise or Chinese five-spice
- Grated citrus zest (orange or lemon)
To enhance moisture and aroma, stuff the cavity with aromatic ingredients like halved oranges, apples, garlic cloves, or fresh herbs.
Ideal Roasting Temperatures and Times
Achieving the perfect roasted duck relies on controlling the temperature to render the fat slowly while allowing the skin to crisp beautifully. Follow this temperature guide for best results:
| Stage | Temperature | Cooking Time |
|---|---|---|
| Initial Low Roast | 300°F (150°C) | 1.5 to 2 hours (depending on duck size) |
| High Heat Finish | 425°F (220°C) | 20 to 30 minutes (to crisp skin) |
| Internal Temperature | 165°F (74°C) (thigh) | Use a meat thermometer for accuracy |
Pro Tip: Regularly baste the duck with its rendered fat to enhance the flavor and ensure even browning.
Achieving the Perfect Crispy Skin
A crispy, golden skin is the hallmark of a well-roasted duck. Follow these essential steps to achieve that irresistible texture:
-
Dry the Skin Thoroughly:
Ensure the duck is completely dry before roasting. Leaving the bird uncovered in the refrigerator for 12-24 hours helps dehydrate the skin for better crisping. -
Pierce the Skin:
During cooking, periodically pierce the skin with a skewer (avoiding the meat) to release additional fat and prevent soggy skin. -
Finish with High Heat:
Increase the oven temperature for the last 20-30 minutes to achieve that beautiful golden-brown crust. Rotate the duck halfway through for even crisping. -
Rest Before Carving:
Once roasted, allow the duck to rest for 15-20 minutes before carving. This step lets the juices redistribute throughout the meat, ensuring a moist and flavorful result.
Perfecting Pan Seared Duck Breast
Pan-searing duck breast is a fast, elegant method that delivers crispy skin and tender, juicy meat. This technique is ideal for individual servings and highlights the luxurious texture of the duck.
Proper Duck Breast Preparation (Scoring and Drying)
-
Trim Excess Fat:
While you want to keep most of the skin intact, trimming any excess fat around the edges prevents grease from pooling during cooking. -
Score the Skin:
Gently score the skin in a crisscross pattern without cutting into the meat. This helps the fat render evenly and prevents the breast from curling. -
Dry Thoroughly:
Pat the skin side dry with paper towels. Dry skin is essential for creating a crisp, golden crust. -
Season Simply:
Sprinkle both sides of the breast with salt and pepper. For added depth, consider using herbs like thyme or a touch of smoked paprika.
Cooking Times and Temperature Control
For perfectly cooked duck breast, aim for medium rare to medium. Here’s a quick reference for searing:
| Doneness | Internal Temperature | Approximate Cook Time |
|---|---|---|
| Rare | 125°F (52°C) | 6-8 minutes (skin-side), 2-3 minutes (flesh-side) |
| Medium-Rare | 130°F (54°C) | 8-10 minutes (skin-side), 3-4 minutes (flesh-side) |
| Medium | 140°F (60°C) | 10-12 minutes (skin-side), 4-5 minutes (flesh-side) |
Pro Tip: Always start with a cold pan this allows the duck fat to render slowly, ensuring a crisp skin.
Resting the Duck for Juicy Results
Once cooked, transfer the duck breast to a cutting board and let it rest for 5-10 minutes. Resting is crucial as it allows the juices to redistribute, ensuring each bite is moist and flavorful. Slice the duck breast against the grain for the most tender texture.
Slow Cooking Duck for Maximum Flavor
Slow-cooking is perfect for duck legs and thighs, as it breaks down tough connective tissues and creates fall-apart tenderness. Whether you’re making duck confit or a braised duck dish, slow cooking enhances the meat’s richness.
Ideal Cuts for Slow-Cooking
The best duck cuts for slow-cooking are those with higher fat content and tougher textures, such as:
- Duck legs: Ideal for braising or confit.
- Thighs: Suitable for stews and casseroles.
- Whole duck (cut into pieces): Works well in slow-roasted preparations.
Seasoning and Braising Techniques
-
Season Well:
Rub the duck pieces with salt, pepper, and herbs. Marinating overnight enhances the depth of flavor. -
Sear First:
Brown the duck in a hot pan before slow-cooking. This locks in flavor and provides a rich base for braising liquids. -
Choose the Right Liquid:
Use flavorful liquids like chicken stock, red wine, or orange juice. Add aromatic ingredients (onions, garlic, and fresh herbs) to boost the taste.
Serving Suggestions for Slow-Cooked Duck
Serve slow-cooked duck with sides that balance its richness, such as:
- Mashed potatoes: Creamy textures complement the savory duck.
- Braised greens: Kale or Swiss chard offers a bitter contrast.
- Polenta: Provides a soft, buttery base for braised duck dishes.
Common Mistakes to Avoid When Cooking Duck
- Overcooking the Meat: Duck breast should never be cooked well-done. Aim for medium rare for the best texture.
- Neglecting to Render the Fat: Slow rendering prevents greasy, chewy skin.
- Skipping the Resting Period: Resting the duck after cooking ensures the juices stay within the meat.
Pairing Duck with Sides and Sauces
Duck pairs beautifully with sides and sauces that balance its richness.
Classic Side Dishes:
- Roasted Root Vegetables: Their sweetness complements the savory duck.
- Creamy Mashed Potatoes: A comforting, indulgent pairing.
Popular Duck Sauces:
- Orange Sauce (Duck à l’Orange): A sweet, citrusy classic.
- Cherry Reduction: A tart and savory pairing.
Health Benefits of Eating Duck
Duck is a nutrient-rich protein source with several health benefits:
- Rich in Iron: Supports healthy blood circulation.
- Healthy Fats: Duck fat contains monounsaturated fats, which promote heart health.
- High Quality Protein: Essential for muscle repair and growth.

FAQ
What is the best temperature to cook duck?
For whole duck, start at 300°F (150°C) and finish at 425°F (220°C). Duck breast should be seared and cooked to 130°F (54°C) for medium-rare.
Should duck be cooked well done?
No. Duck breast is best served medium rare for tenderness, while duck legs benefit from slow cooking until fully tender.
How do you render duck fat effectively?
Start with a cold pan and cook over medium heat to melt the fat slowly.
Can you cook duck like chicken?
No. Duck requires lower temperatures and longer cooking times to render fat and avoid dryness.
What is the best duck breed for cooking?
Pekin duck is the most commonly used breed for its mild flavor and tender meat.
How do you store leftover cooked duck?
Refrigerate cooked duck in an airtight container for 3-4 days or freeze for up to 3 months.
Conclusion
Cooking duck is both an art and a science. Whether you choose to roast, pan sear, slow cook, or smoke, each method highlights the unique qualities of this luxurious meat. By mastering these techniques and avoiding common mistakes, you’ll be able to prepare restaurant-quality duck at home.
Don’t be afraid to experiment with different seasonings and sides to create a truly unforgettable dining experience. Duck may take a little extra effort, but the delicious results are well worth it

